Date: March 28, 2026
Last time you guys saw this project, I said that I was about halfway through. I was dead wrong. This bag definitely took a lot longer than I expected it to. I made quite a few mistakes (as you’d expect for a first project) and had to spend a lot of time fixing them.
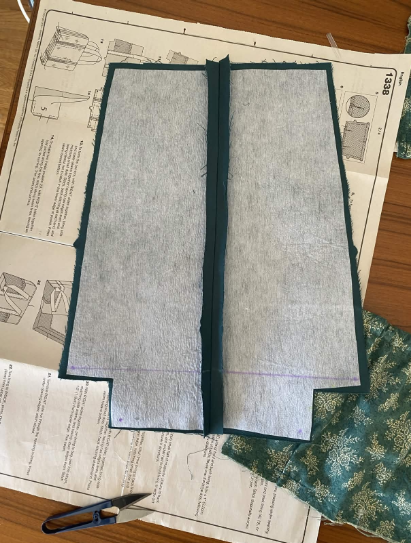
I’ll start with the first time I ever had to bust out the seam ripper. Every post about sewing that I come across usually has a few mentions of this malefactor. My encounter began when I realized I sewed one of the side panels of the bag together backwards. On the left, you can see how the pattern said to stitch them together, and on the right you can see where I went wrong.
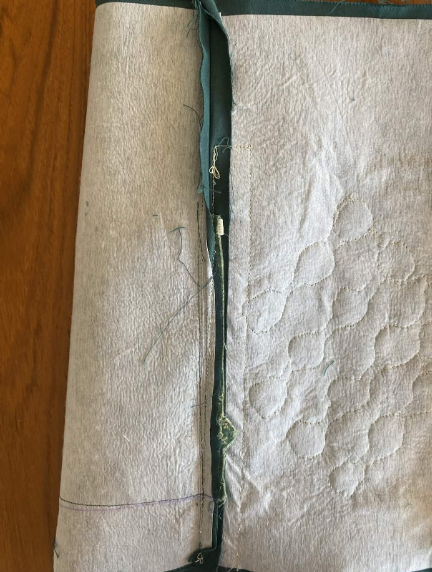
The seam ripper was relatively simple to use. It is used to cut and pull out threads. Thankfully, I was able to flip it around and sew the other sides instead with no issues.
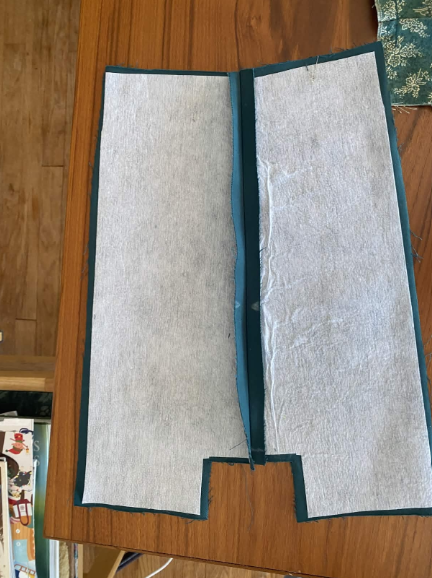
Another one of my mishaps included stitching closed multiple seams that were supposed to be ironed open. On the left is the stitch that I botched, and the right is closer to what it should have looked like. At the end of the day, these seams are not visible on the finished bag (they are inside the lining) but I will take care to avoid this in the future because it can cause issues with how the fabric lays on the bag when it’s done. When seams are ironed flat like the one on the right, the fabric can lay smoother and flatter.

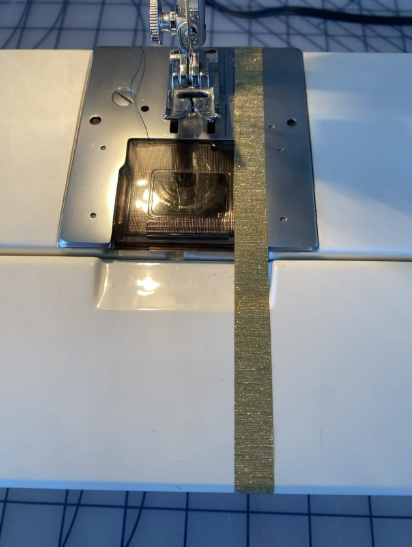
Something that I found super helpful when sewing with a designated seam allowance (my pattern called for ½ inch) was sticking a piece of washi tape down the needle plate where I would need the fabric edge to line up. This made keeping seams perfectly straight so much easier. I genuinely don’t know what I would have done without this hack!
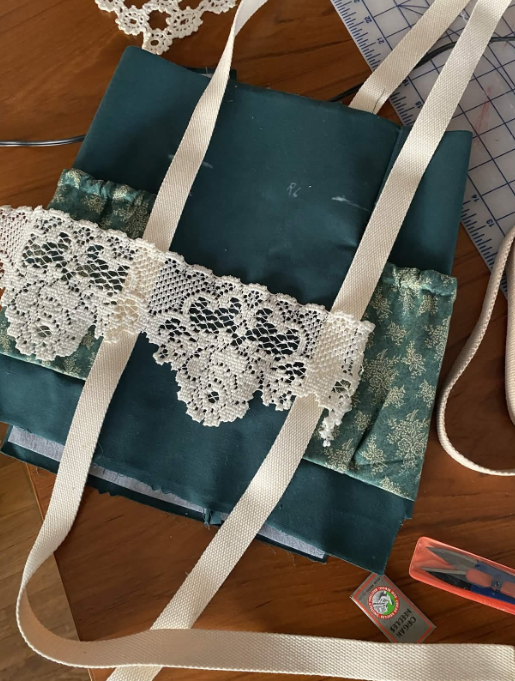
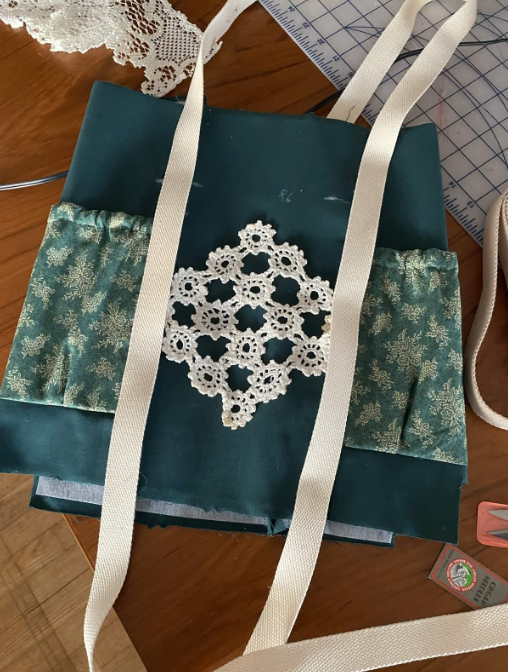
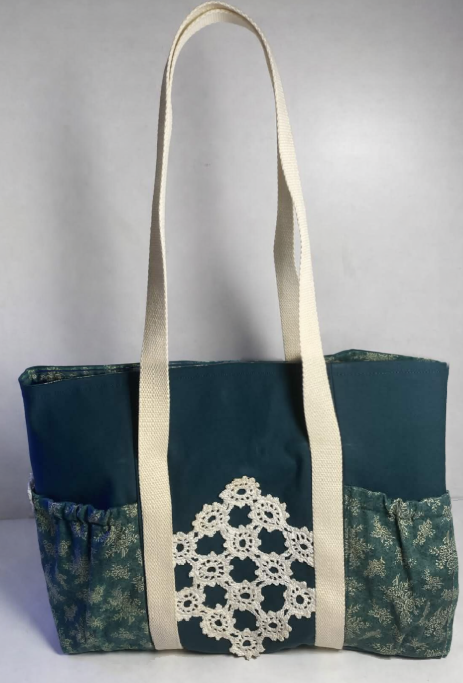
I added some applique to this bag that was not included in the pattern. I thought that the bone color of the doilies would help the straps seem less out of place. I was deciding between two that I already had laying around. I ended up choosing the second one, and put it in a diamond shaped orientation. I will definitely be using the first piece of lace on something else, though, it is very cute. The doily was originally a 4x4 square of small circles. I cut off two because they would have been in the way of the straps, then I used the two extra and sewed them to the middle of the pocket (there’s already a seam there) as an extra decoration!
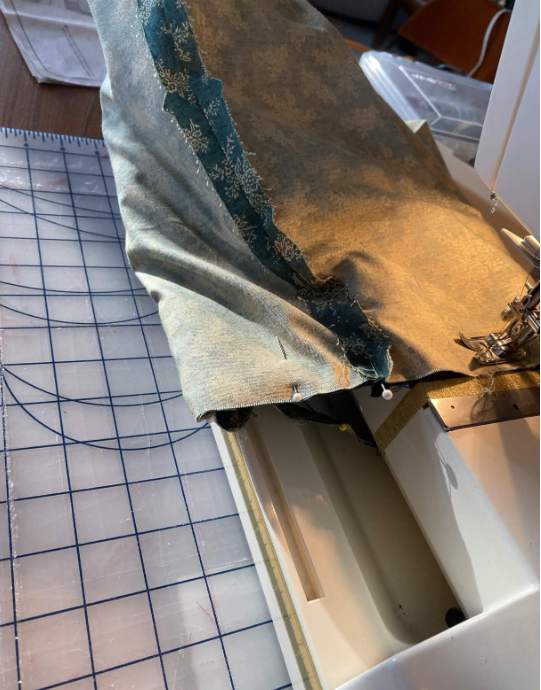
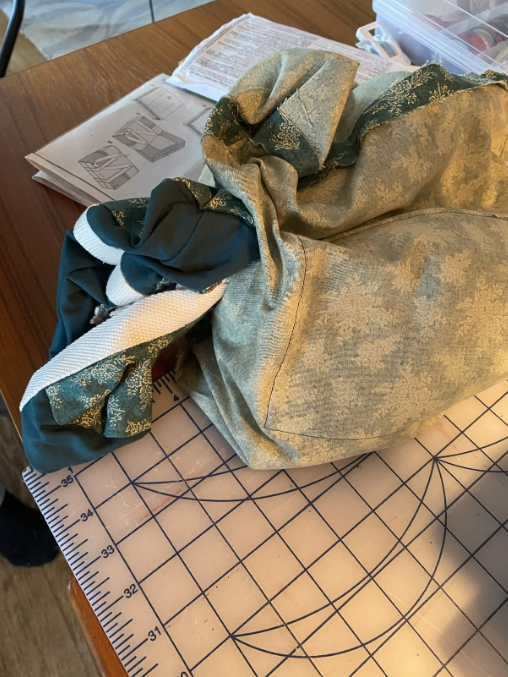
As the bag began to come together more, the bulkiness became a problem. It was difficult to find ways to fit multiple pieces of attached fabric into the sewing machine, and I had to readjust the fabric more frequently. It came to a point where I had to turn the bag inside out through a small hole, and it took about 10 minutes for me to finally get it through.
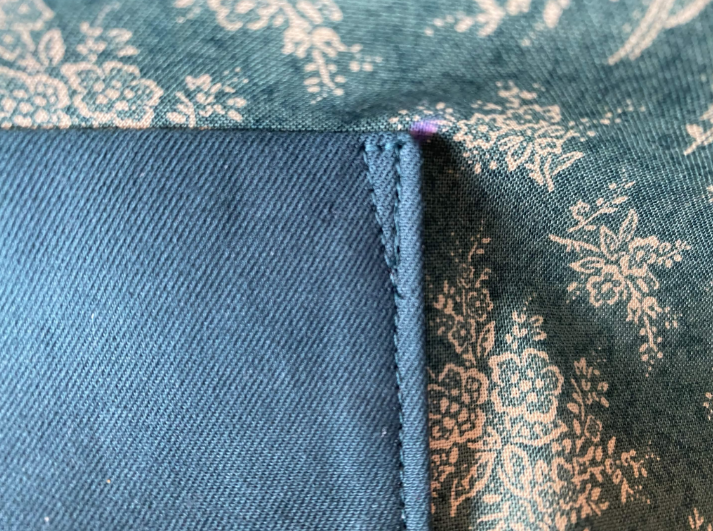
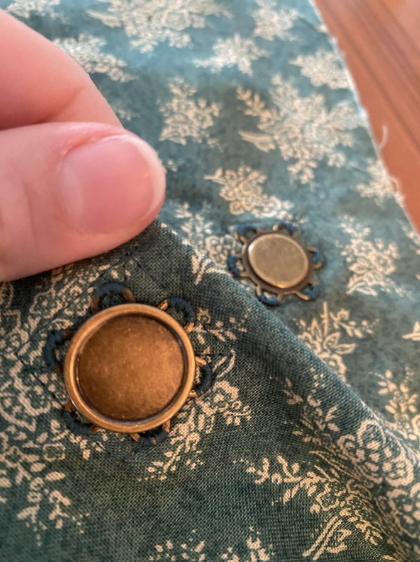
There were a lot of tiny details I had to include in the final bag that I never really noticed when I would look at clothes and bags before. For example, the inside pockets required a small triangular stitch on the sides of the openings for reinforcement. I had to be careful to make these large enough to have an impact, but not so large that they would inhibit the opening of the pocket too much. Also, the magnet closure had to be stitched on with over 100 hand done stitches instead of using a machine.
So here’s how my first project came out! There are a couple awkward seams here and there, but overall I love how it came out.
You may now be wondering what’s next for me now that I’m done. I think it’s important that I keep my momentum and choose something new to start immediately. Something with some new techniques that I can get myself familiar with. You’ll just have to check back next time to see what!